 Windows
 Mac OS X
 iPhone / iPad
 Android
 Other
Other
Choose your Program/Device
GTP Email Support - iPhone
Note!
Learn how to setup your GTP email on your Apple iPhone. The instructions cover both Luke and Darth servers.
Setting up your GTP email on your iPhone doesn't take long and can be one of the best ways to keep in contact on the go.
Please follow the instructions in the slideshow below, it will run you through how to setup your email on any iPhone.
The instructions are for the latest version of iOS (6.0 at time of writing) however there should only be minor differences going back to older versions and phones.
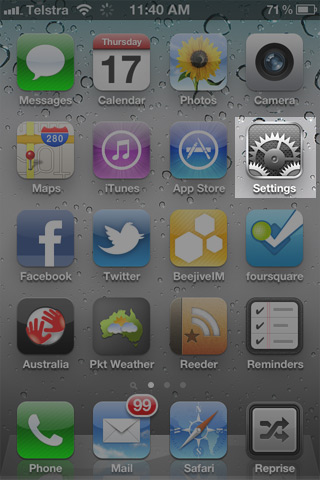
Step 1
Tap on the Settings App on the Home Screen of your Phone. If it's not there you may have moved it and will need to do a search for it. |
Step 2
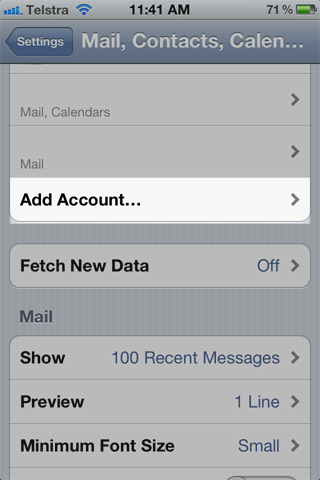
In the settings app find the Mail, Contacts, Calendars options and tap it to start setting up your email. |
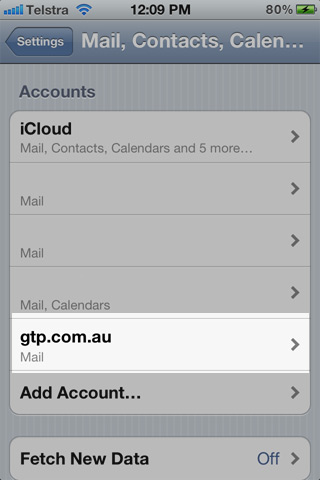
Step 3
Tap on Add Account. You may have accounts already listed there it will be at the bottom of that list. |
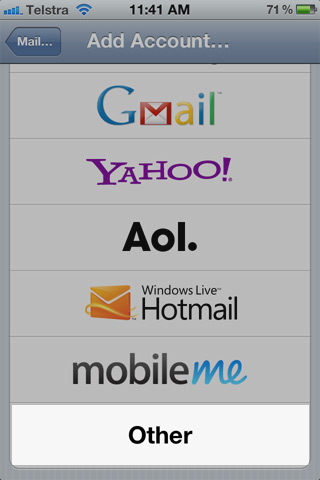
Step 4
Scroll to the bottom and Tap Other. |
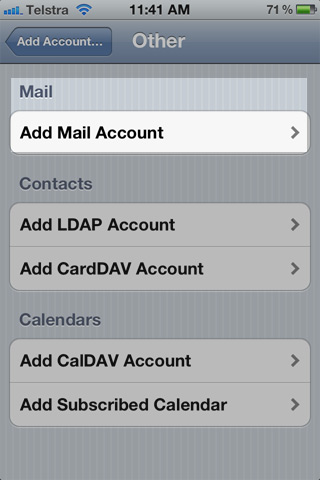
Step 5
Tap on Add Mail Account. |
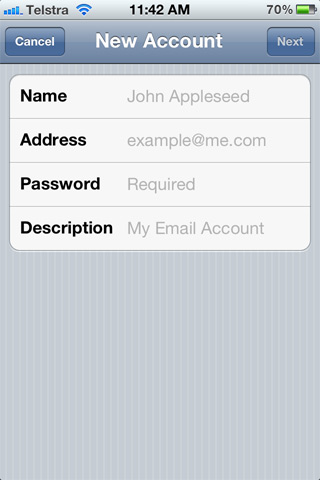
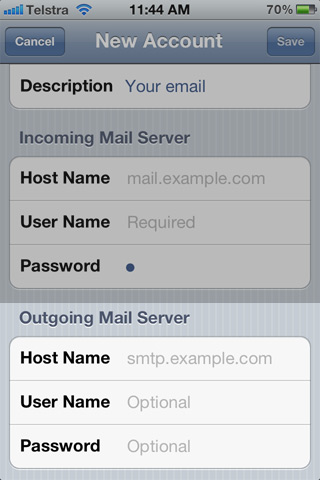
Step 6 - The basics
GTP uses POP (aka POP3) mail for our email servers. So tap POP3 and make sure it's highlighted in blue. The following information must be filed out. Name: The name you wish your emails to come from. Host Name: For both Luke and Darth websites the incoming mail settings should be mail.youdomain.com.au (where your domain is your domain). In the past this had may have been different, however now all accounts are uniform. Username: youremail@yourdomain.com.au (The full email address) |
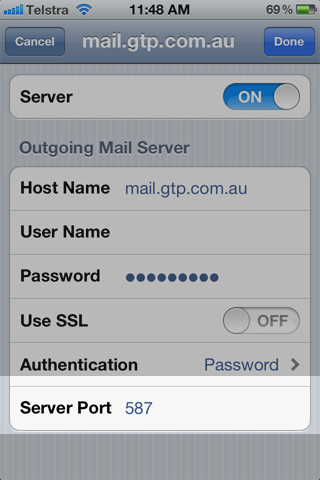
Step 7 - Outgoing settings
The outgoing settings are the #1 support problem that comes up with iPhones, but it's not too confusing so let's get it set up! Luke and Darth SettingsHost Name: mail.yourdomain.com.au Username: Is your email address Password: Same as your password you entered before.
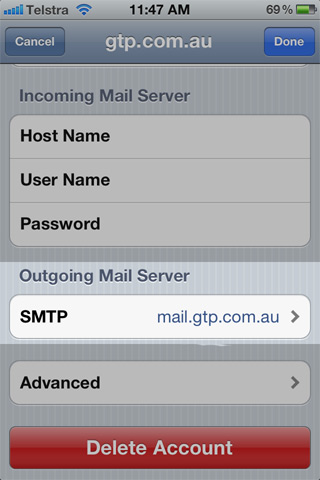
After you've done this tap SAVE in the top right corner. It will ask you if you want to connect without SSL, click yes to this. This process may take up to 3-4 minutes. You will be returned to below screen, there's just a couple more settings to change. |
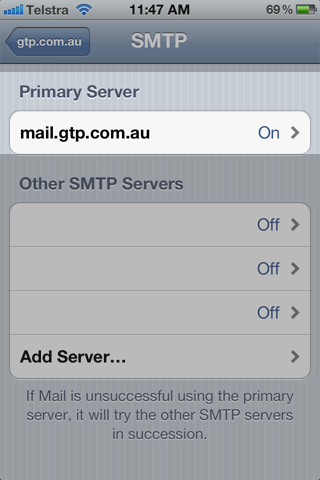
Step 8 - Advanced Outgoing
|
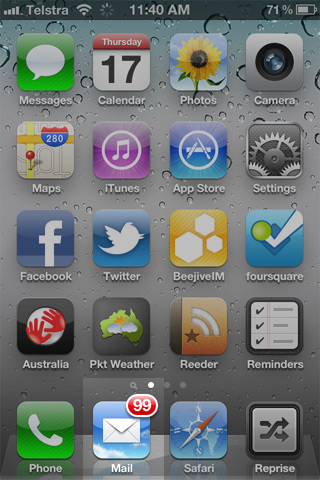
Step 9 - Done!
After all that has been done you can now check your email from the Mail app on the homescreen! |
If you have any problems with these settings give us a call and we will help you out! |

Last updated: 2021-02-16 15:31:48