How to Make a SlideShow
Support Article ID: 127142

Navigating to the SlideShow
- Click on Web Pages tab
- In the drop down click on Add New Slideshow
- Enter a Title for the Slide Show
- Tick the Active box
- (The Active box for the slides allows the ability to turn on and off certain slides.)
- Click on “Save SlideShow Details”
- Then click no the “Add New Slide” button\
- Click on “Save Slide” then click on “Save Slideshow Details”
- This should now show a slide that can be edited
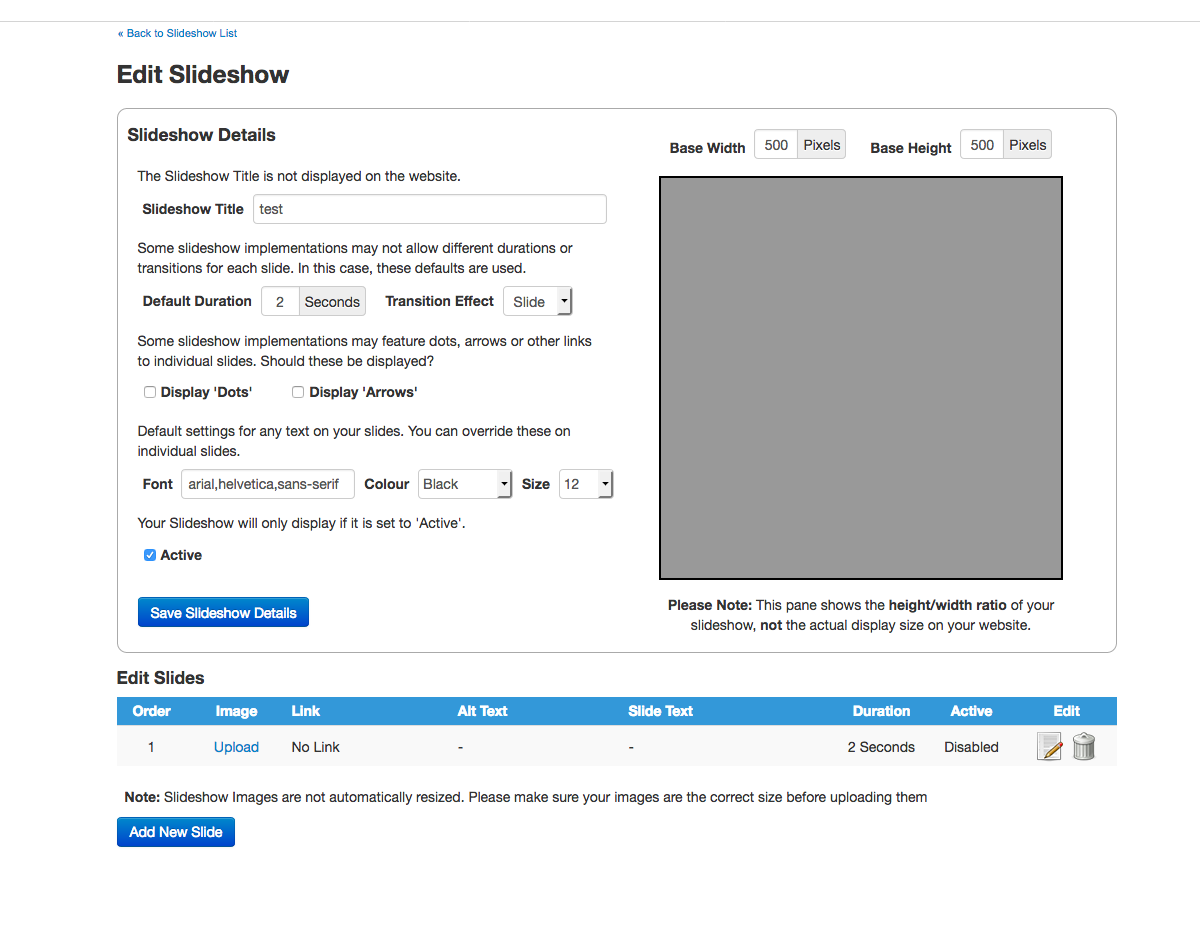
- To upload an image click on the Upload text
- Then Browse your computer and select the desired image and upload it
- (Note: Ideally the image should already be the size you want it to display as).
- After uploading the image a example should be displayed on the right
- Depending on the setup of the site, may need to change the dimensions of the SlideShow, located above the the example image
- Adding and Editing Text on the image
- Click on the paper and pencil icon on the right
- This should open an Editing Slide panel above the slides
- The First box “Order” determines which order the slides will appear in.
- The Link box allows you create a link when clicking on this slide
- The Alt Text box creates alternate text if the image doesn’t load or for visually impaired people
- To add text to this slide, tick the “Show Text on Slide” box
- The first Box “”Overlay Text” is where you type the text you would like to display
- Font Face is the font type
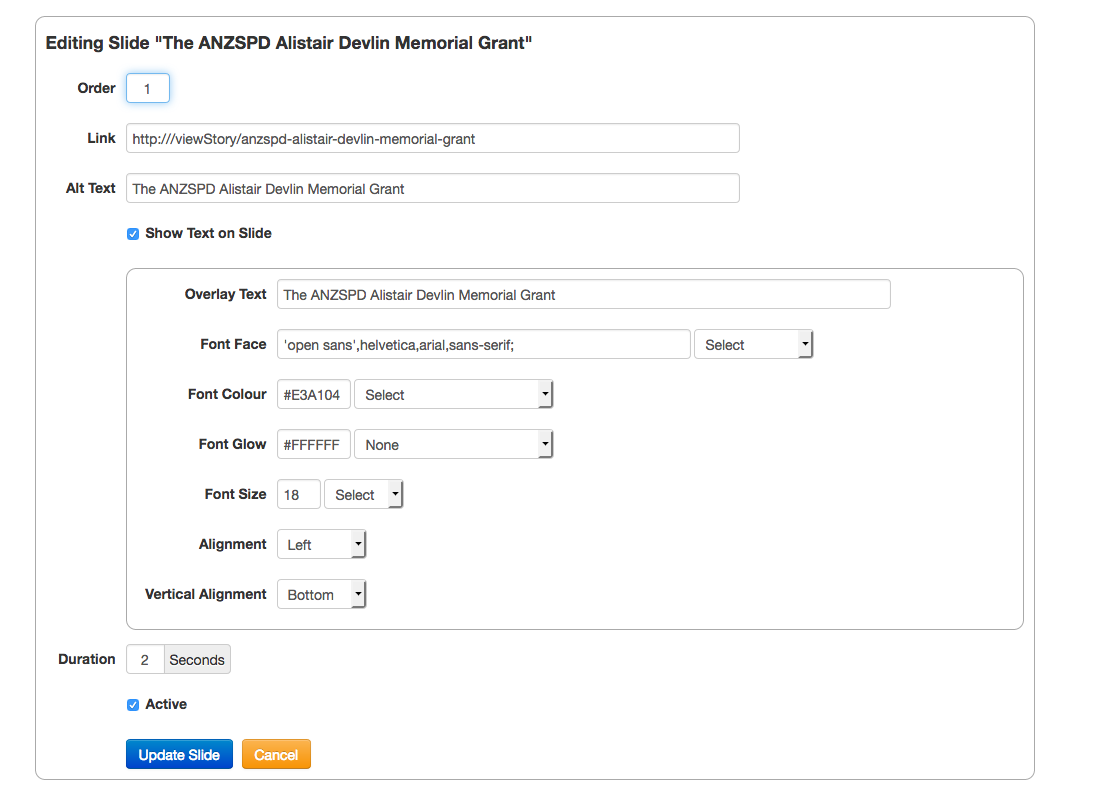
- Once finished editing the slide tick the Active box and click the “Update Slide” button
- Click “Save SlideShow Details” at the top of the page
- On the site where the slideshow is located Refresh the site, and you changes should come through
- (On PC - windows key and R, On Mac - command key and R)