 Windows
 Mac OS X
 iPhone / iPad
 Android
 Other
Other
Choose your Program/Device
GTP Email Support - Mail
How to setup GTP Email in Mail on Mac OS X
You need to know the following before you get start.
- Your Email Address(es)
- Your Password(s)
- Incoming Mail Server: mail.yourdomain.com.au
- Outgoing Mail Server: mail.yourdomain.com.au
Please replace yourdomain with your own domain name. You may also need to change the .com.au to .com.
Test you know your password by logging in via webmail if you have problems http://webmail.yourdomain.com.au
If you don’t know email support@gtp.com.au and tell us what password to set your email to. Or SMS 0411 352 766 with details or Call 1300 856 533 and talk to support or leave a message with what password you want and your mobile number so we can SMS you.

Step 1
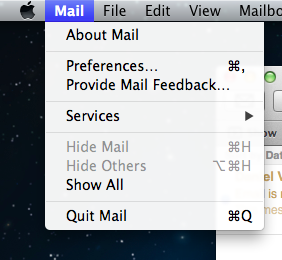
To add an email to Mail, start by clicking Mail in the menu bar. Then Preferences.
(if you don’t have an email setup already, skip to the next step)
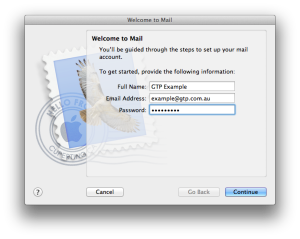 Step 2

On this screen you should enter your full name, your email address in full and your password in the below fields and then click continue.
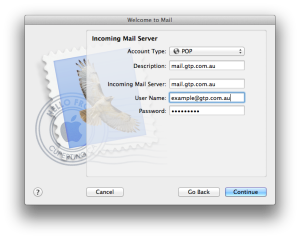 Step 3
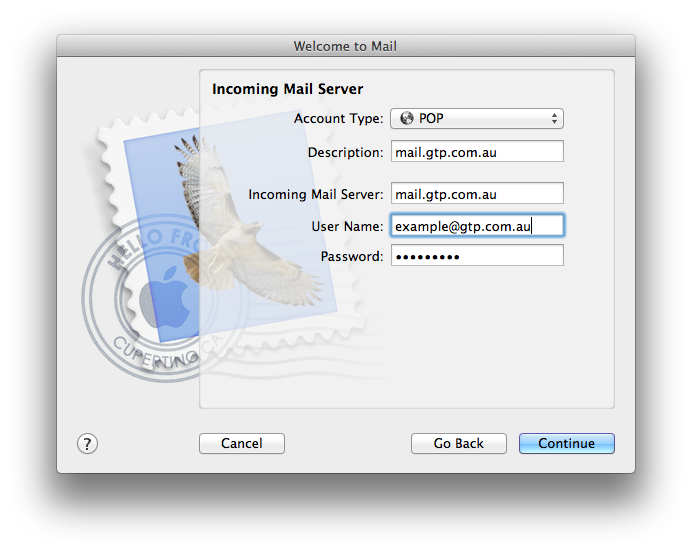
On this screen you should fill in your incoming mail server settings (mail.yourdomain.com.au), your email address as the username and your email password. (Then click continue)
 Step 4

It is possible that the following Verify Certificate pop up will appear. Just click connect as we don’t need SSL.
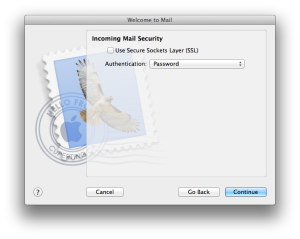 Step 5

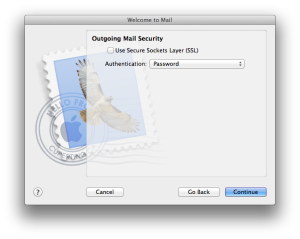
Untick Use Secure Sockets Layer (SSL) button here, make sure the authentication is on Password and click continue.
 Step 6
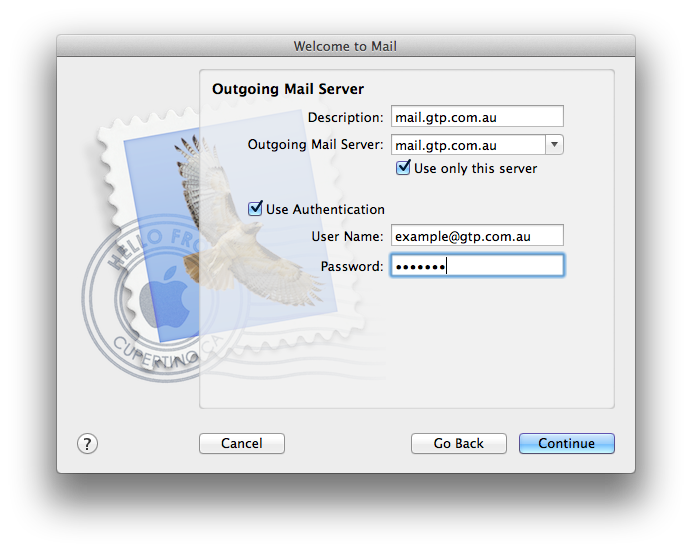
Fill out the details below replaced with yourdomain.com.au, make sure use authentication is ticked and re-enter your email address and password.
(then click continue)
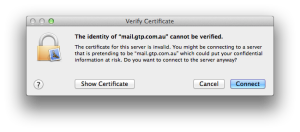 Step 7
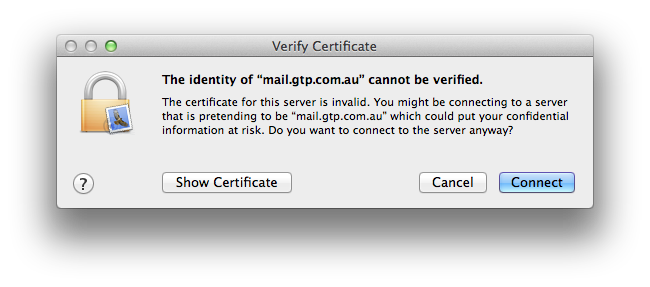
Again this box may appear, we don’t need SSL so just click Connect
 Step 8

Untick the Use Secure Sockets Layer (SSL) button again, make sure Authentication is on Password and click continue.
 Step 9
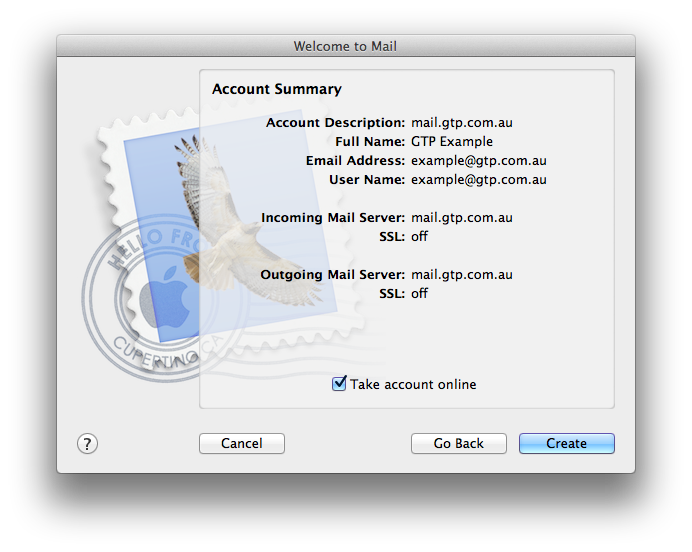
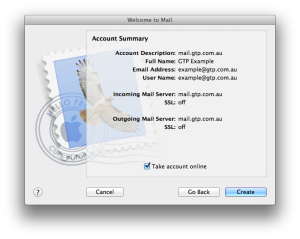
Confirm details on this screen, then click Take account online.
Hold on though, we still have a couple more steps!
 Step 10
Lets head back to the Preferences menu…
 Step 11
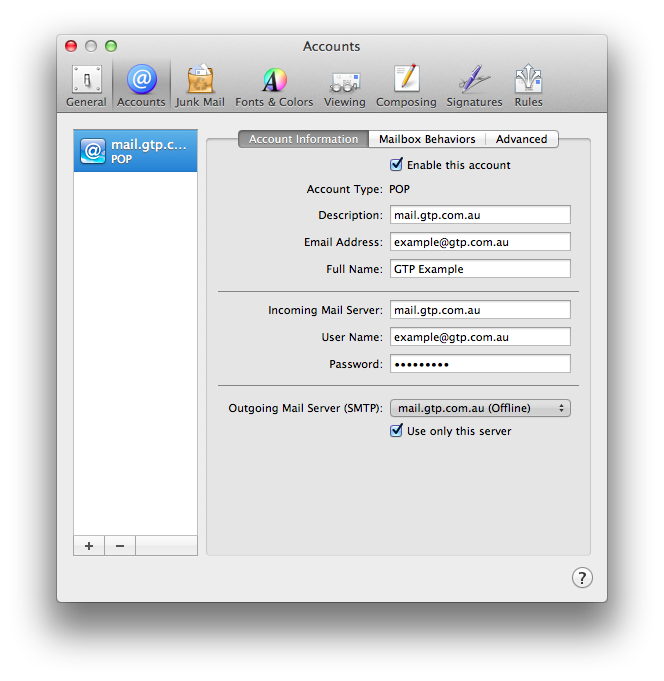
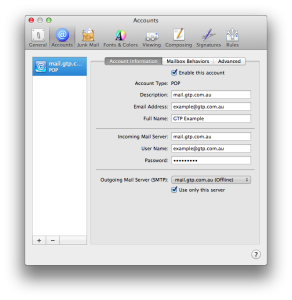
Once Preferences are open, lets click on Accounts. Then make sure the new account is selected on the left. At the bottom there is the Outgoing Mail Server SMTP list. Open that up and click on Edit SMTP Server List.
 Step 12
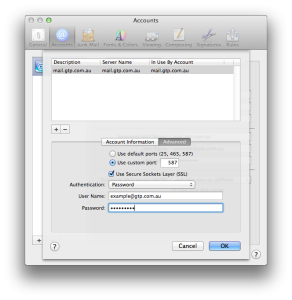
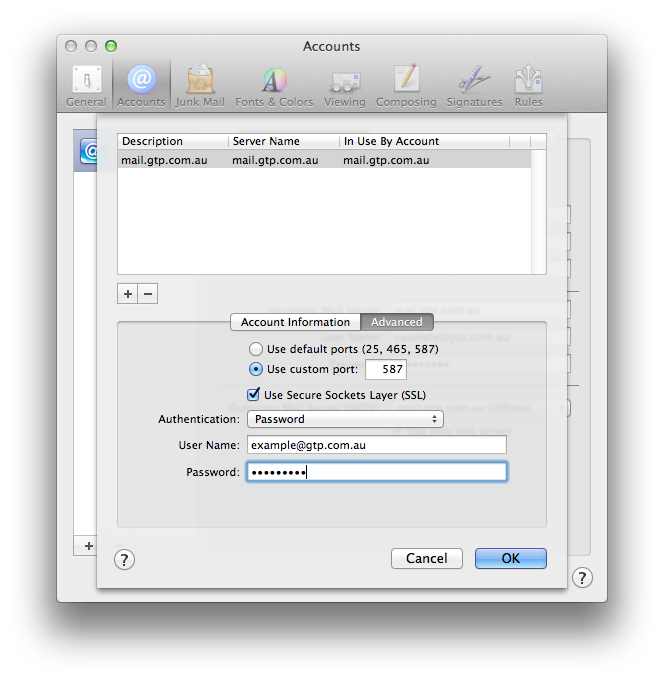
On this screen, click on the Advanced tab and then Use Custom Port. We want to enter in 587 in here manually. Also ensure, Use Secure Sockets Layer (SSL) is unticked. (then click OK)
Step 13
Once out of the advanced options. Click the Red (Close) bubble in the top left. It will ask you to save changes, do so and your email setup is complete.
Troubleshooting
- Check User Name Field contains FULL email address (this is the most common mistake as outlook strips the last part of the email itself) .
- Check your incoming and outgoing mail servers are mail.YOURdomainname.com.au
- Then confirm that your password is correct
- If still not working make sure you have internet access by loading Google.
- If you have internet access and cannot get your email to work then call GTP on 1300 856 533.
Troubleshooting Certificate Mismatch re Sending Email.
The server is running with a certifate from gtp.com.au yet your outgoing mail server pathway may be mail.yourdomain.com.au
To get email to send out you will need to click on SHOW CERTIFICATE if the error comes up "The identity of "mail.yourdomain.com.au" cannot be verified" . Then you can tick to override and accept this certificate (which is correct) each time. This should enable your email to now be sent out if it has been getting stuck in the outbox.
Last updated: 2021-02-16 15:28:03